Tips for photographing the night sky, including settings, gear, and planning.
There’s something enchanting about night sky photography. It’s like revealing a hidden universe that our eyes can’t fully see. By mastering this art, you unlock endless creative possibilities, capturing the breathtaking beauty of stars, the moon, and celestial wonders. Though, like any worthwhile skill, it demands patience and practice, the rewards are truly spectacular. Imagine sharing stunning, star-filled photos that leave your audience in awe – that’s the power of night sky photography.
This article serves as a beginner’s guide to the art and intricate skill that is night sky photography.
A star filled sky over El Capitan in Yosemite NP (left/above); the Milky Way Galactic Core overhead in the dark skies of Joshua Tree NP (right/below).
Essential Equipment for Astrophotography: What You Need to Get Started
Camera
For night photography, a DSLR or mirrorless camera is ideal due to their larger sensors and better low-light performance. These cameras allow for greater control over settings, essential for capturing the night sky.
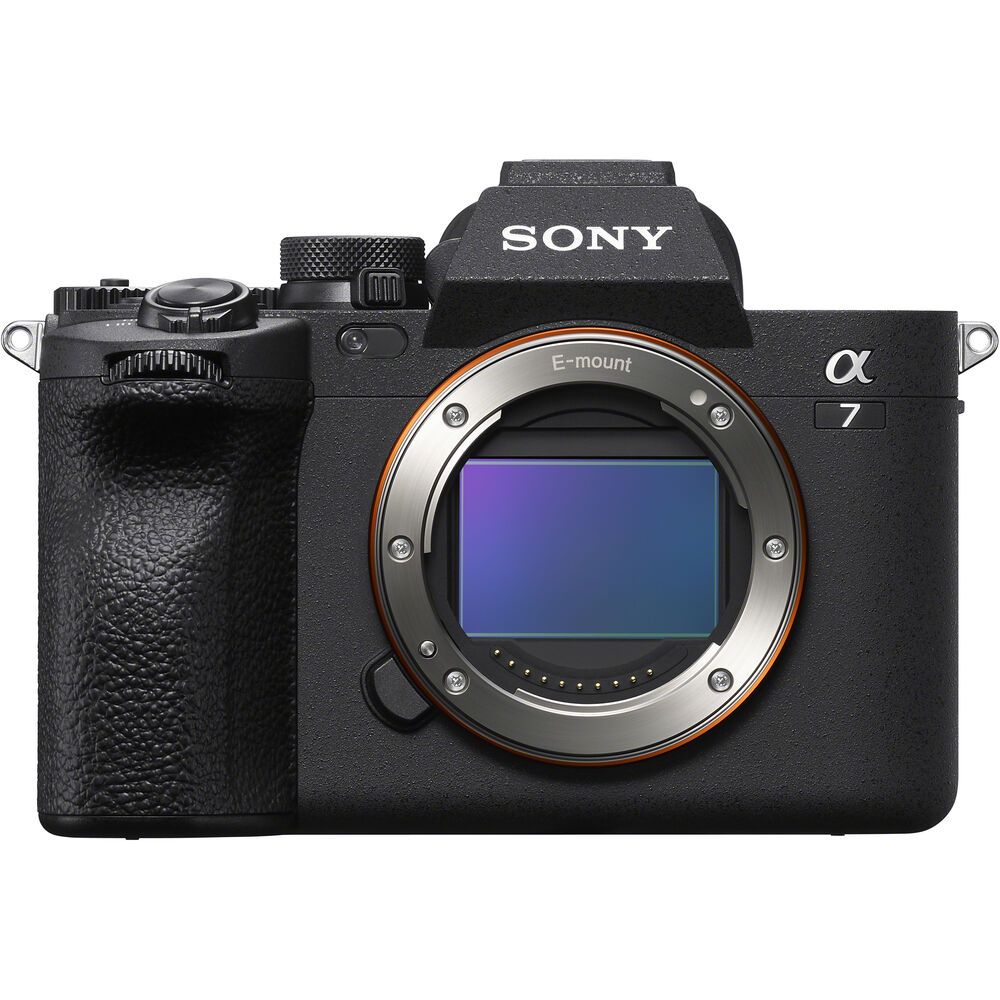
While most modern day cameras can capture night images, specific features will improve the experience and the results. Full-frame DSLRs or mirrorless cameras are considered most ideal. They generally offer the best balance between sensor size and camera body size. Cameras that excel at night sky photography will have excellent low-light performance, high dynamic range, and effective noise handling at high ISO settings. Astrophotography is one low-light scenario where a larger sensor size really matters.
Lens
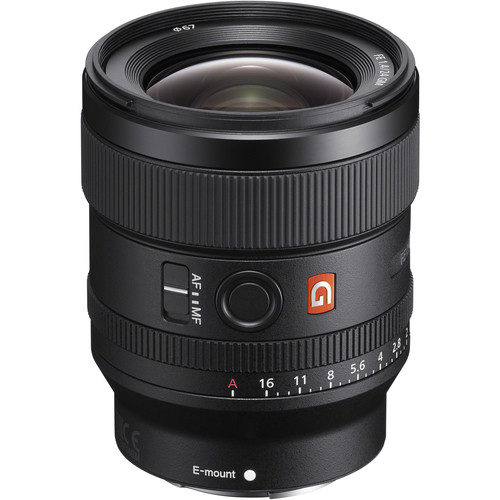
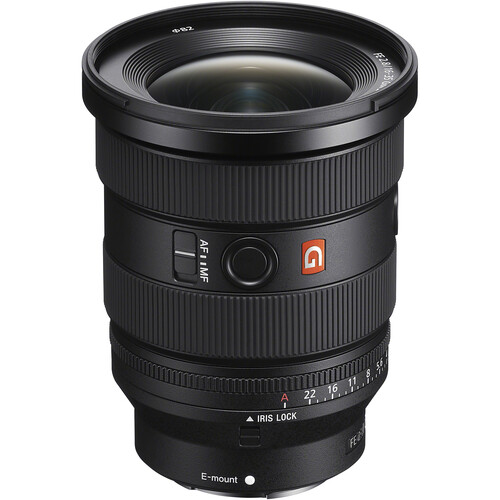
Lenses with a fast aperture (f/2.8 or lower) are essential for night sky photography. A fast aperture allows the lens to open wider, letting in more light, which makes stars and other celestial objects appear brighter and more visible.
While a wide-angle lens (with a low focal length) is often the most practical choice for beginners due to its ability to capture more of the sky, it’s not the only option. Longer focal lengths can also be used to photograph the night sky, offering a unique and creative perspective.
Tripod
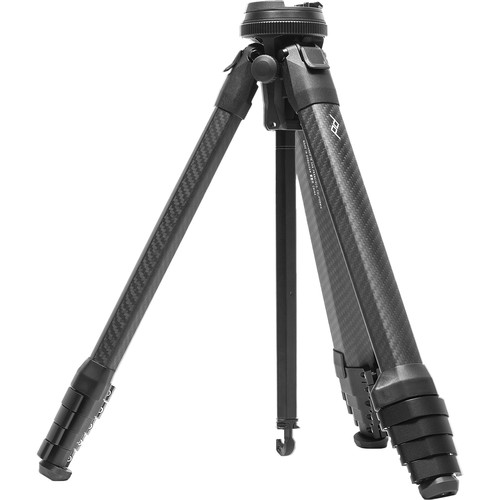
A sturdy tripod is crucial for night photography. Since capturing the night sky requires long exposure times to gather as much light as possible, even the slightest movement can cause blurry stars. A high-quality, stable tripod ensures that your camera remains steady, allowing for sharp, clear images. Investing in a solid tripod is essential to avoid any camera shake and achieve the best results.
Remote Shutter Release
Similar to using a tripod, a remote shutter release is crucial for reducing camera shake during long exposures. Even a slight jostle from pressing the shutter button can blur your images. A remote shutter release ensures stability by allowing you to trigger the camera without touching it. If you don’t have one, many cameras come with an internal timer function that delays the shutter release by a few seconds, minimizing any physical shake when the button is pressed.
Headlamp or Flashlight
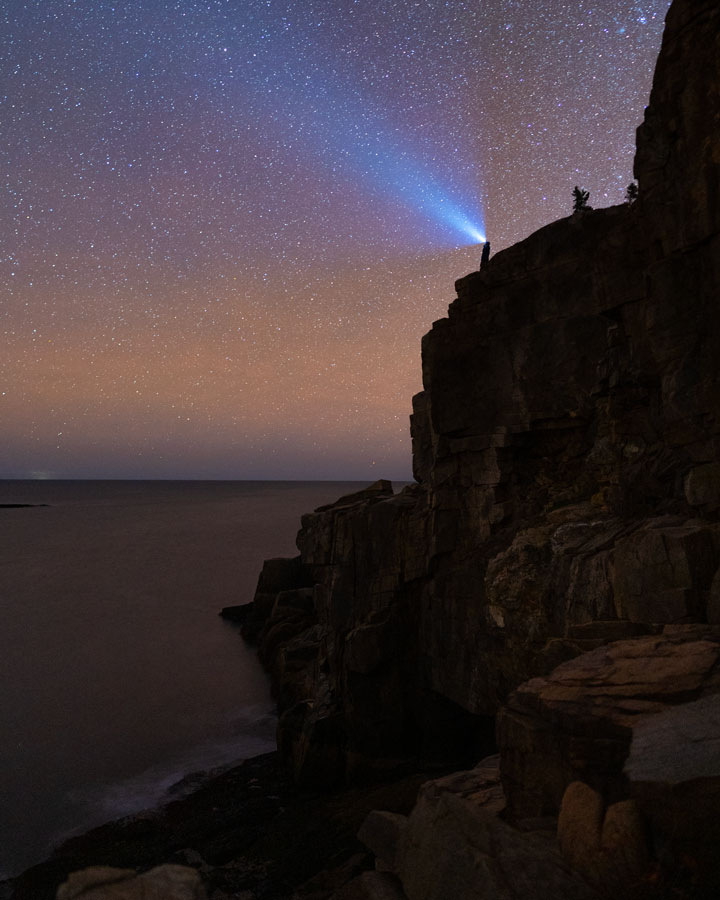
A headlamp or flashlight is essential for functioning in the dark, and general safety during night photography. A headlamp with a red-light mode is especially helpful, as red light minimizes interference with your night vision and preserves the natural ambiance of the environment.
Current Gear
Some of the gear I used to capture the astrophotography featured on this page:
- Camera Body: Alpha a7 IV Full-Frame Mirrorless Camera Body
- Peak Design Carbon Fiber Travel Tripod
- Sony FE 24mm F1.4 G-Master – Prime Lens
- Sony FE 16-35mm f/2.8 G-Master II – Zoom Lens
The links above are affiliate links with Shop Moment, which help to support this free blog content through a small sales commission. Thank you for your support!
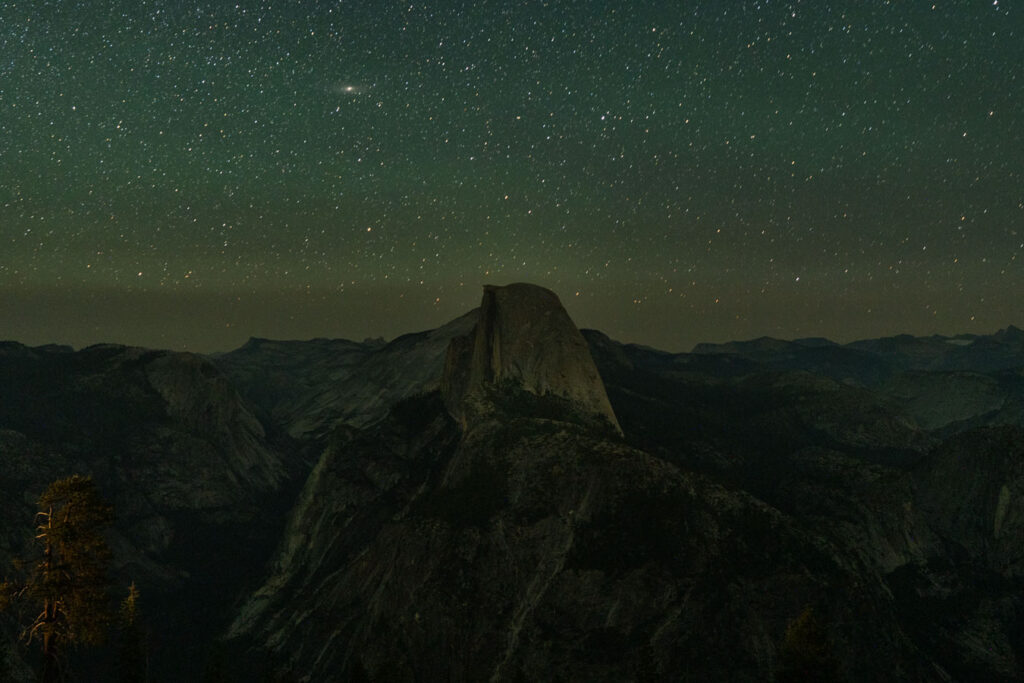
Andromeda rising over Half Dome in Yosemite NP.
Optimal Camera Settings for Stunning Star Photos
ISO
ISO sensitivity, defined by the International Organization for Standardization (ISO), indicates how responsive a camera’s sensor is to light. Increasing the ISO allows your camera to capture more detail in low-light conditions, such as when shooting stars, but it also introduces noise, which can reduce image clarity. It’s important to strike a balance between boosting light sensitivity and managing noise levels.
While ISO is extremely interwoven with your camera’s set shutter speed, in very dark areas with minimal light pollution, an ISO setting of 1600 to 3200 (even up to 6400) on most modern cameras is a good starting point. Experiment from there, and take a couple of test shots to find the best results. For locations with higher light pollution, such as urban environments or when photographing stars during a full moon, you may want to begin with an ISO of around 800 and adjust as needed to achieve the best results.
Aperture
As mentioned previously in lens selection, setting your lens to a wide open aperture (f/2.8 or wider) allows more light to reach the sensor. This is crucial in low-light conditions to capture the faint light from distant stars.
Shutter Speed
Shutter speed, or exposure time, is the duration a camera’s shutter remains open while capturing an image. Measured in seconds or fractions of a second, it dictates how long the camera’s sensor is exposed to light. A fast shutter speed leads to a brief exposure, freezing motion (such as during action and sports) and capturing less light, while a slow shutter speed extends the exposure, allowing more light to hit the sensor and capturing motion or low-light scenes.
Specifically with astrophotography, the longer the shutter is open the more light is able to enter the lens, leading to generally better results. However, with any shutter speed beyond 30 seconds the celestial objects in frame begin to blur due to the Earth’s rotation.
So how long can you expose the shot before the stars begin to trail? A good starting place is the Rule of 500. And while it’s called a rule, it’s more of a guideline to get your started. As you gain more experience, and understand the foundational principles of astrophotography, you may find yourself not always following this depending on creative taste, style and personal technique.
The rule is a fairly simple one: divide 500 by the focal length of your lens. For instance, if you have a 24mm wide-angle lens, you would calculate 500 / 24, which equals 20.83. This means you can safely expose for up to 20-21 seconds before the stars start to blur. Some go further and abide by the Rule of 300 to truly avoid star trails, which is the same calculation using 300 instead.
Focus
Focus is often the most challenging aspect of astrophotography, especially for beginners. Manual focus is typically required, as autofocus systems usually struggle in low-light conditions where there isn’t enough light for the camera to lock onto. This makes precise manual adjustments essential for capturing sharp images of the night sky.
So manual focusing is key for sharp star photos. Set your lens to manual focus and adjust until the stars are pinpoints of light. Some key tips are:
- Activate Live View Mode: Switch your camera to Live View to see a live preview of the scene on your screen. This allows for more precise adjustments compared to using the viewfinder.
- Magnify the Image: On your camera’s screen, zoom in on the star or a bright celestial object. This helps you see the details more clearly and achieve sharper focus.
- Focus on the Brightest Star: Focus on the brightest star or celestial object in the frame. Its brightness makes it easier to achieve sharp focus.
- Use the Focus Ring Gradually – Adjust Slowly: Turn the focus ring slowly and carefully. Move it back and forth until you see the star become a small and extremely sharp point. Avoid making large adjustments that could disrupt the focus. Generally the smaller the star is on screen, the more in focus it is.
- Enable Focus Peaking (if available): If your camera has focus peaking, turn it on in the camera settings. This feature highlights the edges of objects in focus, making it easier to determine peak sharpness around the stars.
- Take Test Shots Check and Adjust: Take a few test shots and review them at 100% zoom on your camera’s screen. Adjust the focus as needed based on the results.
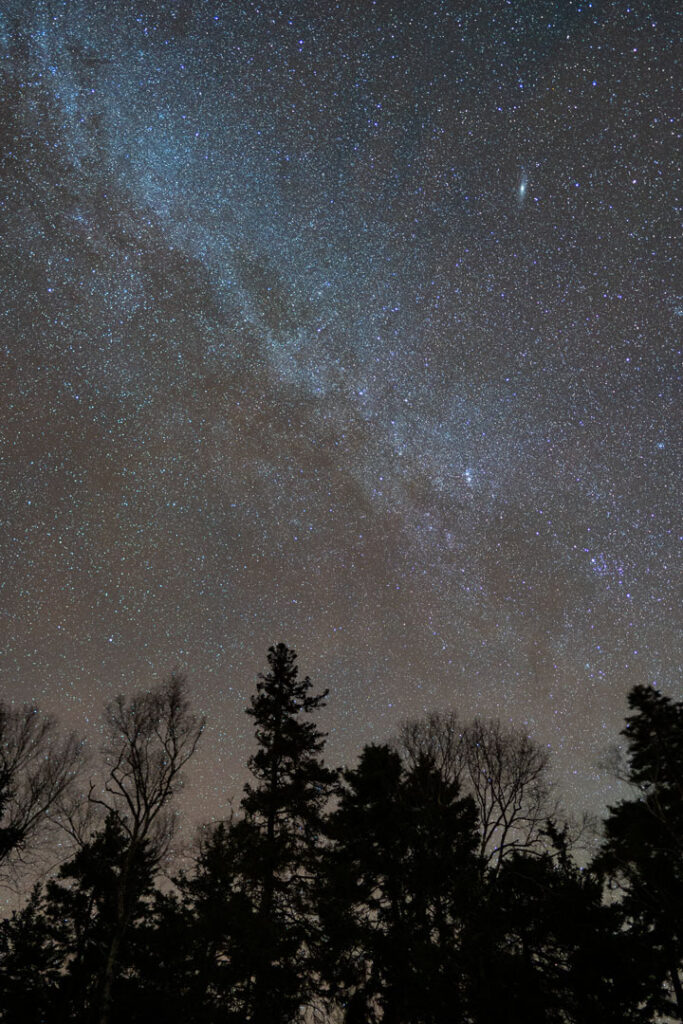
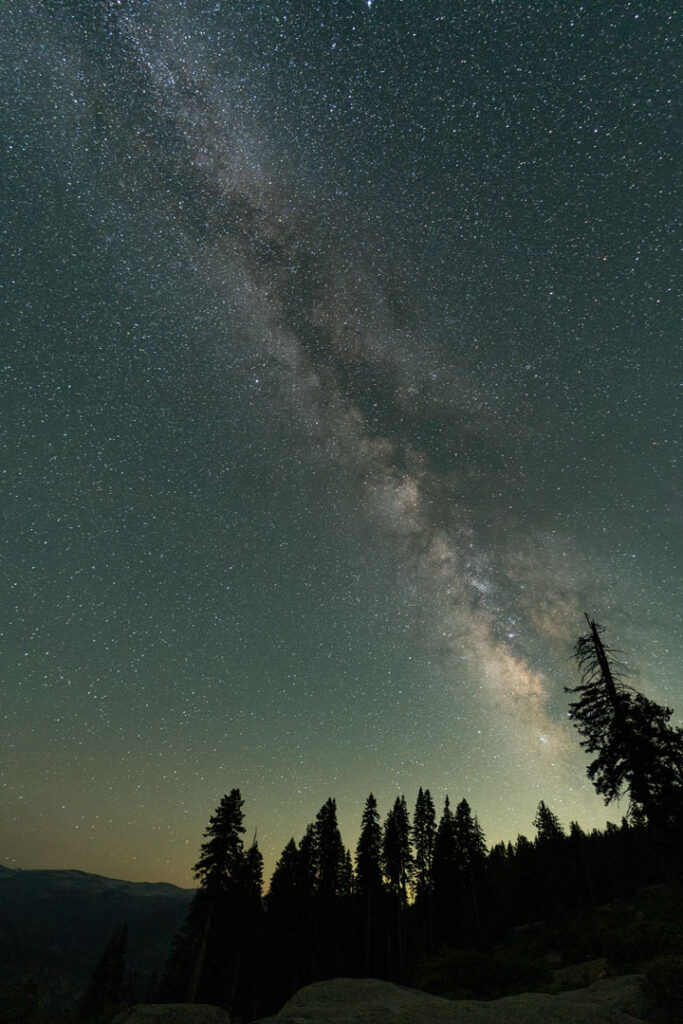
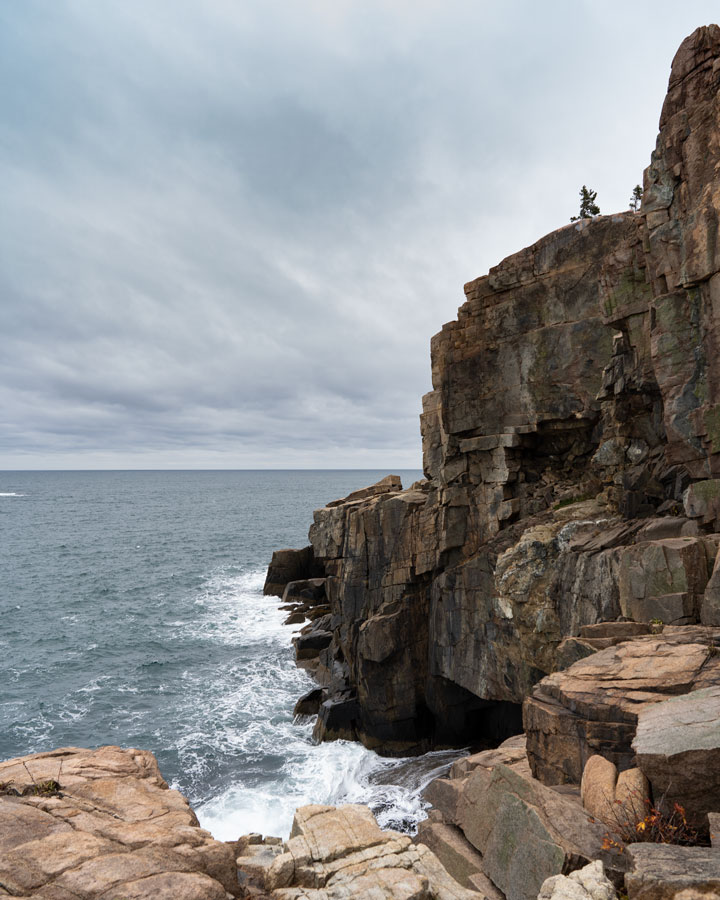
Dark skies in both Winter and Summer over national parks (Acadia left/above and Yosemite right/below respectively) are necessary to capture the stars.
Choosing the Perfect Location for Star Photography
Dark Sky Areas: The Secret to Stunning Night Sky Photos
Capturing the night sky’s full beauty often means escaping the glow of city lights. Urban light pollution can turn a star-studded sky into a hazy blur, making it tough to get those jaw-dropping shots. To truly showcase the night sky, seek out dark sky areas where the stars shine at their brightest.
Why Dark Sky Areas Matter:
- Less Light Pollution: Get away from city lights to experience the night sky in its natural splendor. Without artificial light, you’ll see more stars and celestial objects, making your photos pop with detail and brilliance.
- Enhanced Night Sky Visibility: Darker skies reveal fainter stars and deeper cosmic wonders, offering a canvas for more dramatic and expansive shots.
Top Tips for Planning Your Night Sky Adventure:
- Use Light Pollution Maps: Tools like Light Pollution Map can help you find the darkest spots for your shoot.
- Check the Weather: Clear, moonless nights are ideal. Keep an eye on the weather forecast to pick the perfect night.
- Time Your Shoot: For the best results, plan around a new moon or when the moon is below the horizon to avoid extra light interference.
Venturing into these dark sky areas will transform your night sky photography, letting you capture the universe in all its breathtaking detail. Share your stunning shots and inspire others to explore the wonders of a truly dark sky
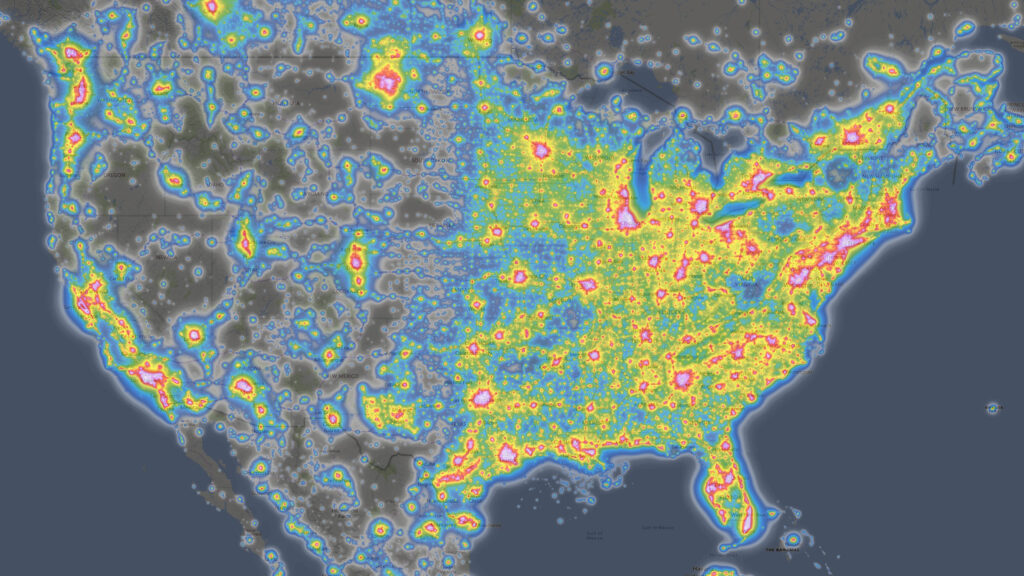
Interactive Light Pollution Map of the USA from https://www.lightpollutionmap.info/
Weather Conditions: Key to Perfect Night Sky Photography
The weather plays a crucial role in capturing the perfect night sky shot. Clear skies are essential for achieving those stunning star photos you’re aiming for. Here’s what to keep in mind:
1. Clear Skies Are a Must
- Avoid Cloud Cover: Clouds can obstruct your view of the stars and other celestial objects, turning a potentially beautiful night sky into a blurry mess. Check the weather forecast in advance and choose a night with no cloud cover for the clearest possible view.
- Stay Updated: Weather conditions can change rapidly, so keep an eye on real-time weather updates and be prepared to adjust your plans if necessary.
2. Moon Phases Matter
- New Moon Benefits: The phase of the moon significantly impacts your night sky photography. A new moon, where the moon is not visible in the sky, provides the darkest conditions. This allows you to capture the most detail in the stars and other celestial objects without the interference of moonlight.
- Full Moon Considerations: A full moon can brighten the night sky, creating light pollution that washes out fainter stars and celestial details. If you’re shooting during a full moon, you may need to adjust your settings or focus on capturing moonlit landscapes.
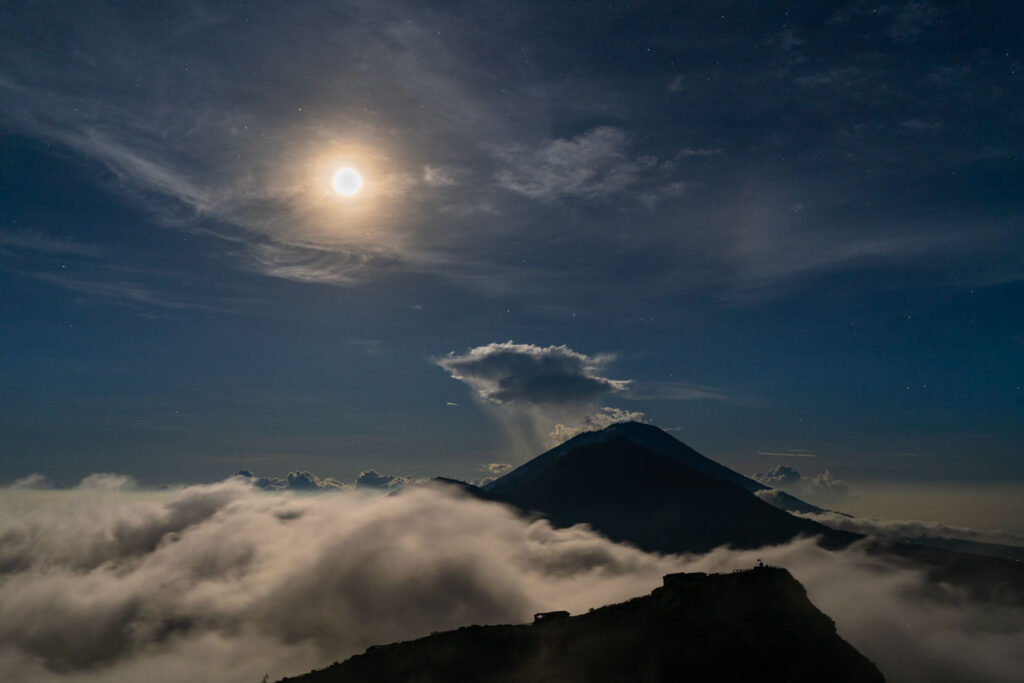
The full moon above, overpowers the surrounding stars. Knowing the position and phases of the moon is key for planning composition.
3. Consider the Moon’s Position
Moon Position and Timing: Even if it’s not a full moon, the moon’s position in the sky can affect your shoot. Check when the moon will rise and set, and plan your shooting time accordingly. Ideally, aim to photograph when the moon is below the horizon or not in the immediate area of your shot.
4. Plan Ahead
- Use Weather Apps and Tools: Leverage weather forecasting tools and apps designed for stargazers. Apps like Clear Outside or Weather Underground provide detailed forecasts specifically for night sky visibility.
- Scout Locations: If possible, visit your shooting location beforehand to get a sense of how best to set up your shot, and where the stars, moon and planets will be.
Scouting the locations in advance during daylight to plan your compositions can make setting up at night (in the darkness) much easier. Planning is key to a successful shoot!
Capturing the night sky in all its glory is a magical and rewarding experience. By understanding the importance of weather conditions and seeking out dark sky areas, you’re well on your way to creating breathtaking astrophotography. Whether you’re a seasoned photographer or just starting out, I hope these tips help you make the most of your night sky shoots.
I’d love to hear about your experiences and see your photos! What challenges have you faced, and what tips have worked best for you? Share your thoughts and questions in the comments below. Let’s start a conversation and inspire each other.
Don’t forget to check out my social media channels for more photography tips, behind-the-scenes looks, and stunning images of the nightscapes and landscapes. Check me out on Instagram and Youtube to stay connected and share your own astrophotography adventures. Let’s capture the cosmos together! 🌌✨


